I got a chance to play Star Wars: Full Thrust again the other day, and this time I remembered to take notes!
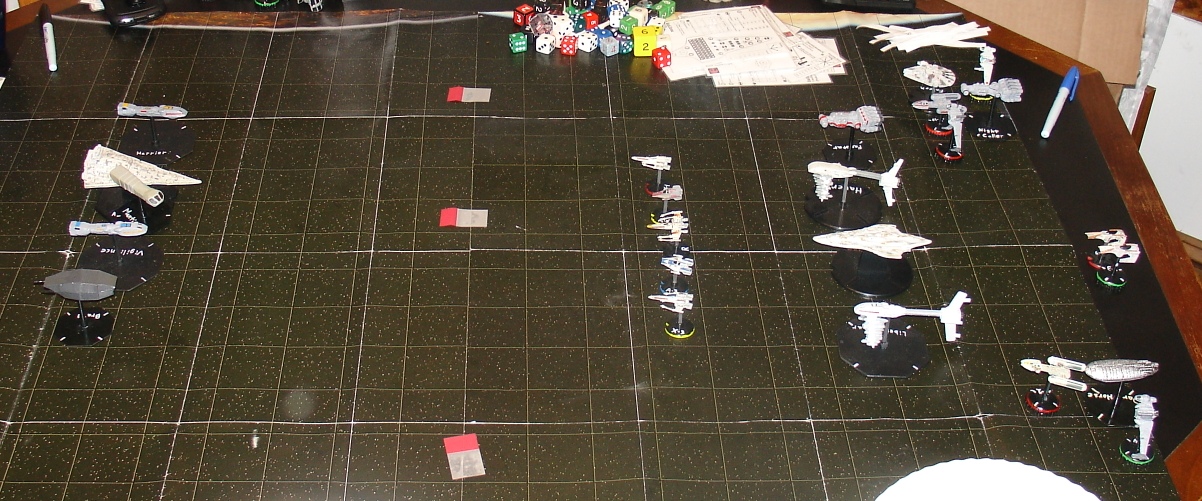
Initial Setup: Rebel forces vs. an Imperial fleet.
Round 1, End of Turn: The Rebel fleet moves forward to begin to close to attack range.
Round 2, End of Turn: In the opening volley, the Admonitor's turbolasers and torpedo's from the Harrier nearly inflict a hull breach on the Haven. In retaliation, both of the rebel assault frigates as well as the Reef Home focus their turbolasers on the Manticore, boiling away hull plating and inflicting multiple hull breaches and causing (surprisingly) minor systems damage across the ship.
Round 3, End of Turn: Despite it's systems damage, the Manticore whittles through the Haven's weakened armor, breaching the hull and triggering destructive secondary explosions that destroy both of the Haven's torpedo launchers. Dual salvos of torpedoes from both the Vigilance and the Harrier tear into the Reef Home, breaching the hull. The Reef Home responds by unleashing a barrage from her ion cannons, stripping the Admonitor's shields and leaving the Star Destroyer vulnerable.

Round 4, End of Turn: With her shields down, the Admonitor makes too tempting of a target to ignore. The Reef Home takes full advantage, pummeling the ISD and breaching the hull. A retaliatory bombing run (made possible through crafty tactical maneuvering on the part of the Imperial admiral, and near-criminal negligence on the part of the Rebel fighter squadrons) destroys the Reef Home in a great conflagration of torpedo explosions. The Admonitor's now barely functional targeting computer lock onto the Liberty Star, allowing the star destroyer's weapons batteries to devastate the assault frigate, leaving only a torpedo launcher to defend itself.

Round 5, End of Turn: With slowly failing life support, and desperate to exact some revenge, the Admonitor targets the Farstar, obliterating it in a hail of turbolaser fire. The Millennium Falcon follows the majority of TIE Bombers back the carrier Bra'al, intent on keeping the fighters from reloading their torpedo bays; the subsequent attack on the imperial escort carrier causes only minor damage, failing to destroy all of the hanger bays.
Round 6, End of Turn: The Admonitor once again turns it's sights on the Liberty Star, destroying it. But the assault frigate survived long enough to accomplish it's mission: blocking the Night Caller from both the Manticore and Admonitor's weapons. With the destruction of the Liberty Star, the Night Caller has a open line of fire to strike a death blow on the Manticore (which it does). Rebel fighters begin making bombing runs on the Admonitor, slowly chewing through her armor.
Round 7, End of Turn: Frantic to destroy the escort carrier before it can launch a newly armed squadron of TIE Bombers, the Night Caller discharges all of her laser cannons into the Bra'al; but, the Bra'al's hanger crews, have managed to get the bombers reloaded and launched just moments before the carrier's destruction. The bombers return the favor, destroying the corvette in revenge for their fallen comrades. A massed Rebel bombing run destroys the Admonitor.
Round 8, End of Turn: The remaining Rebel fighters, continuing to ignore the now nearly impotent TIE Bombers, engage in bombing runs that destroy the Vigilance. Defenseless and stranded without a functional hyperdrive, the Harrier signals the Rebel commander with his surrender.


No comments:
Post a Comment